
Hello Again! I have created another card with the Prized Peony Stampin' Up!® stamp set. I love this set. It is so
pretty and very versatile.


The Basics:
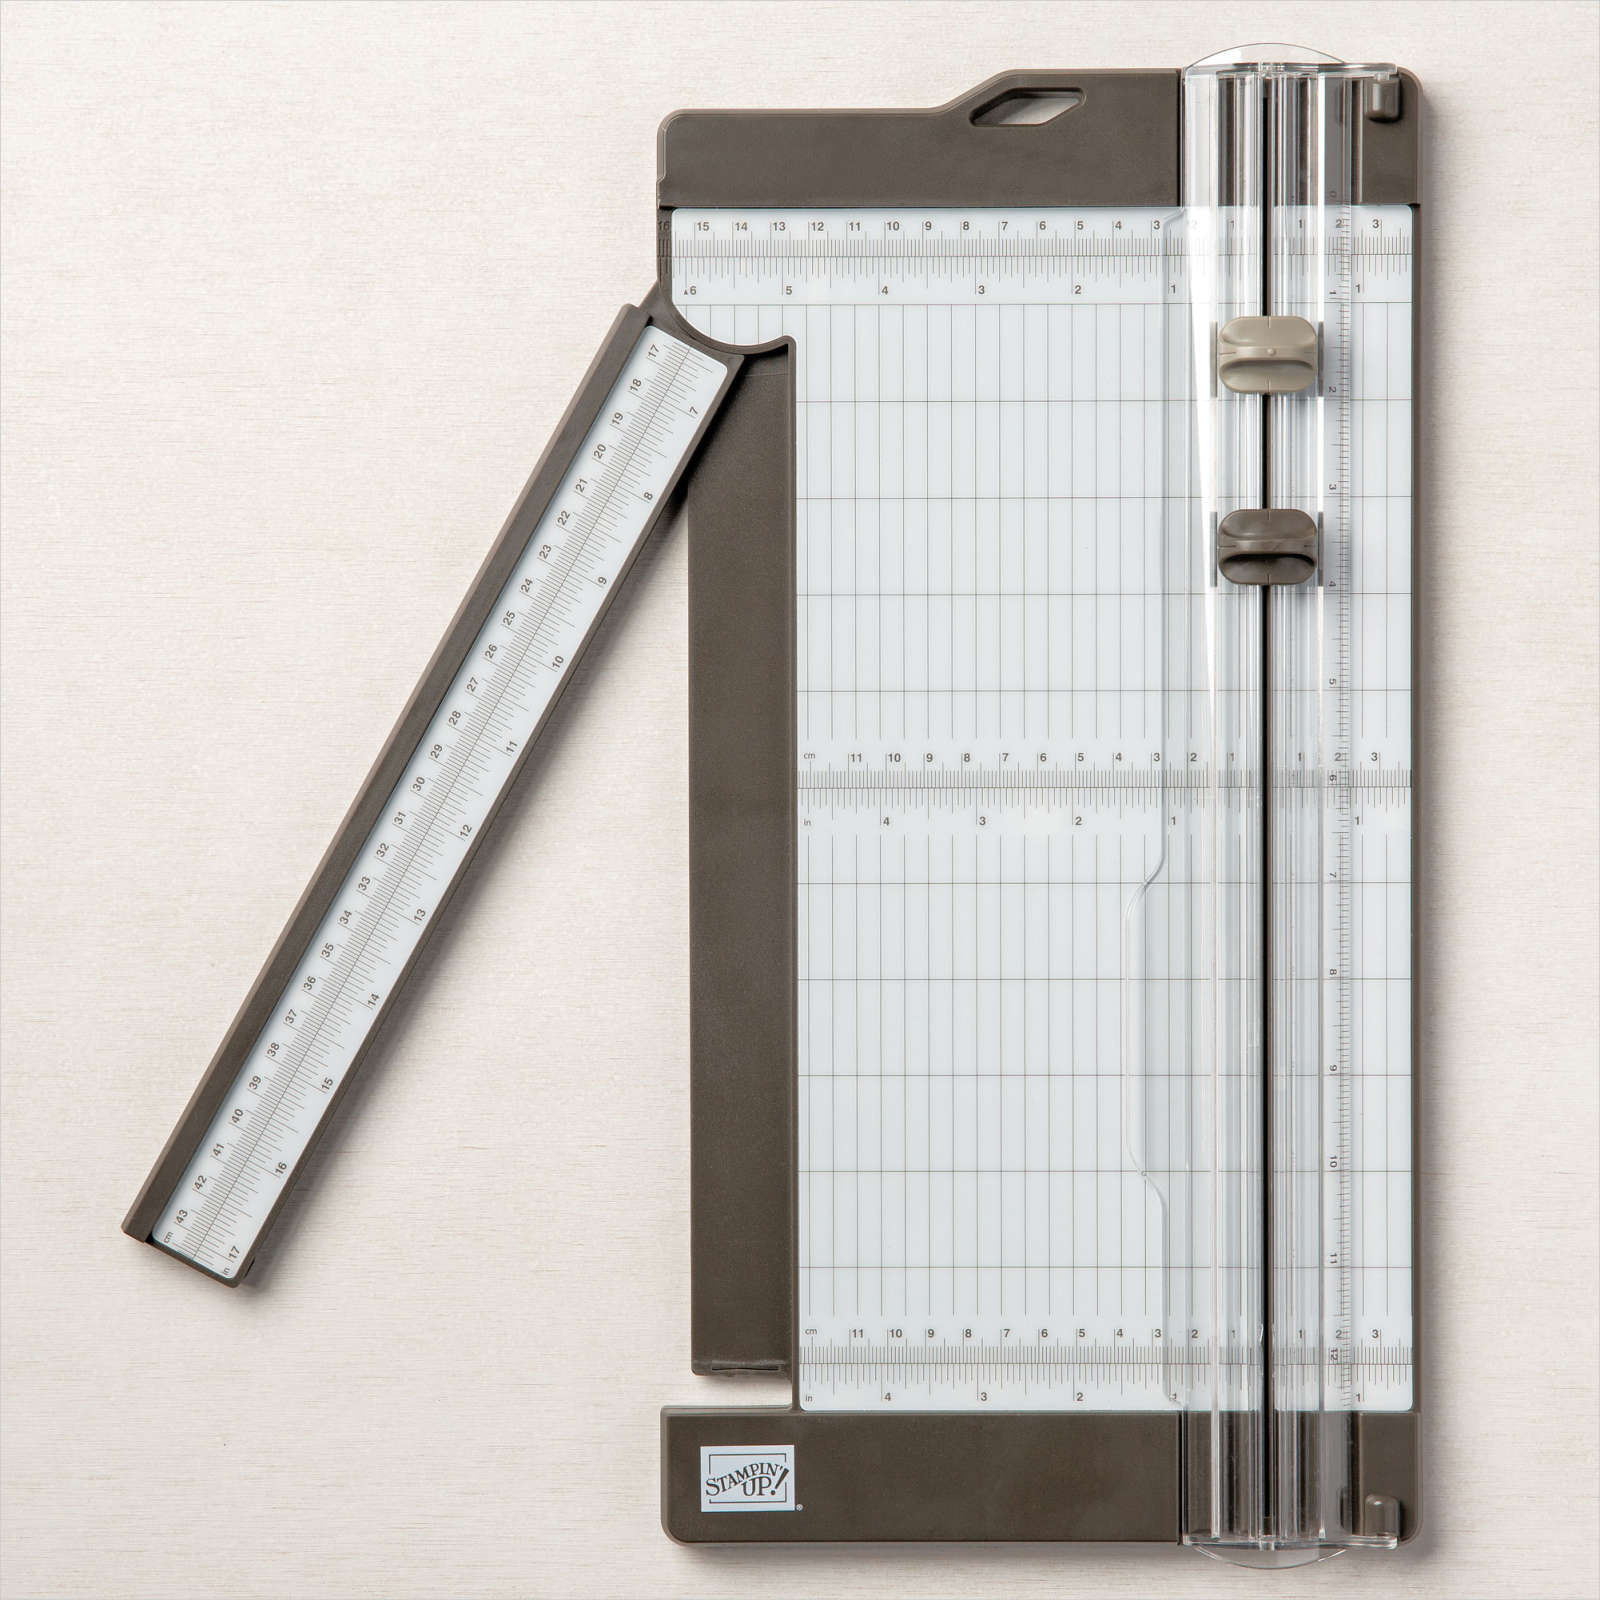
- Paper Trimmer
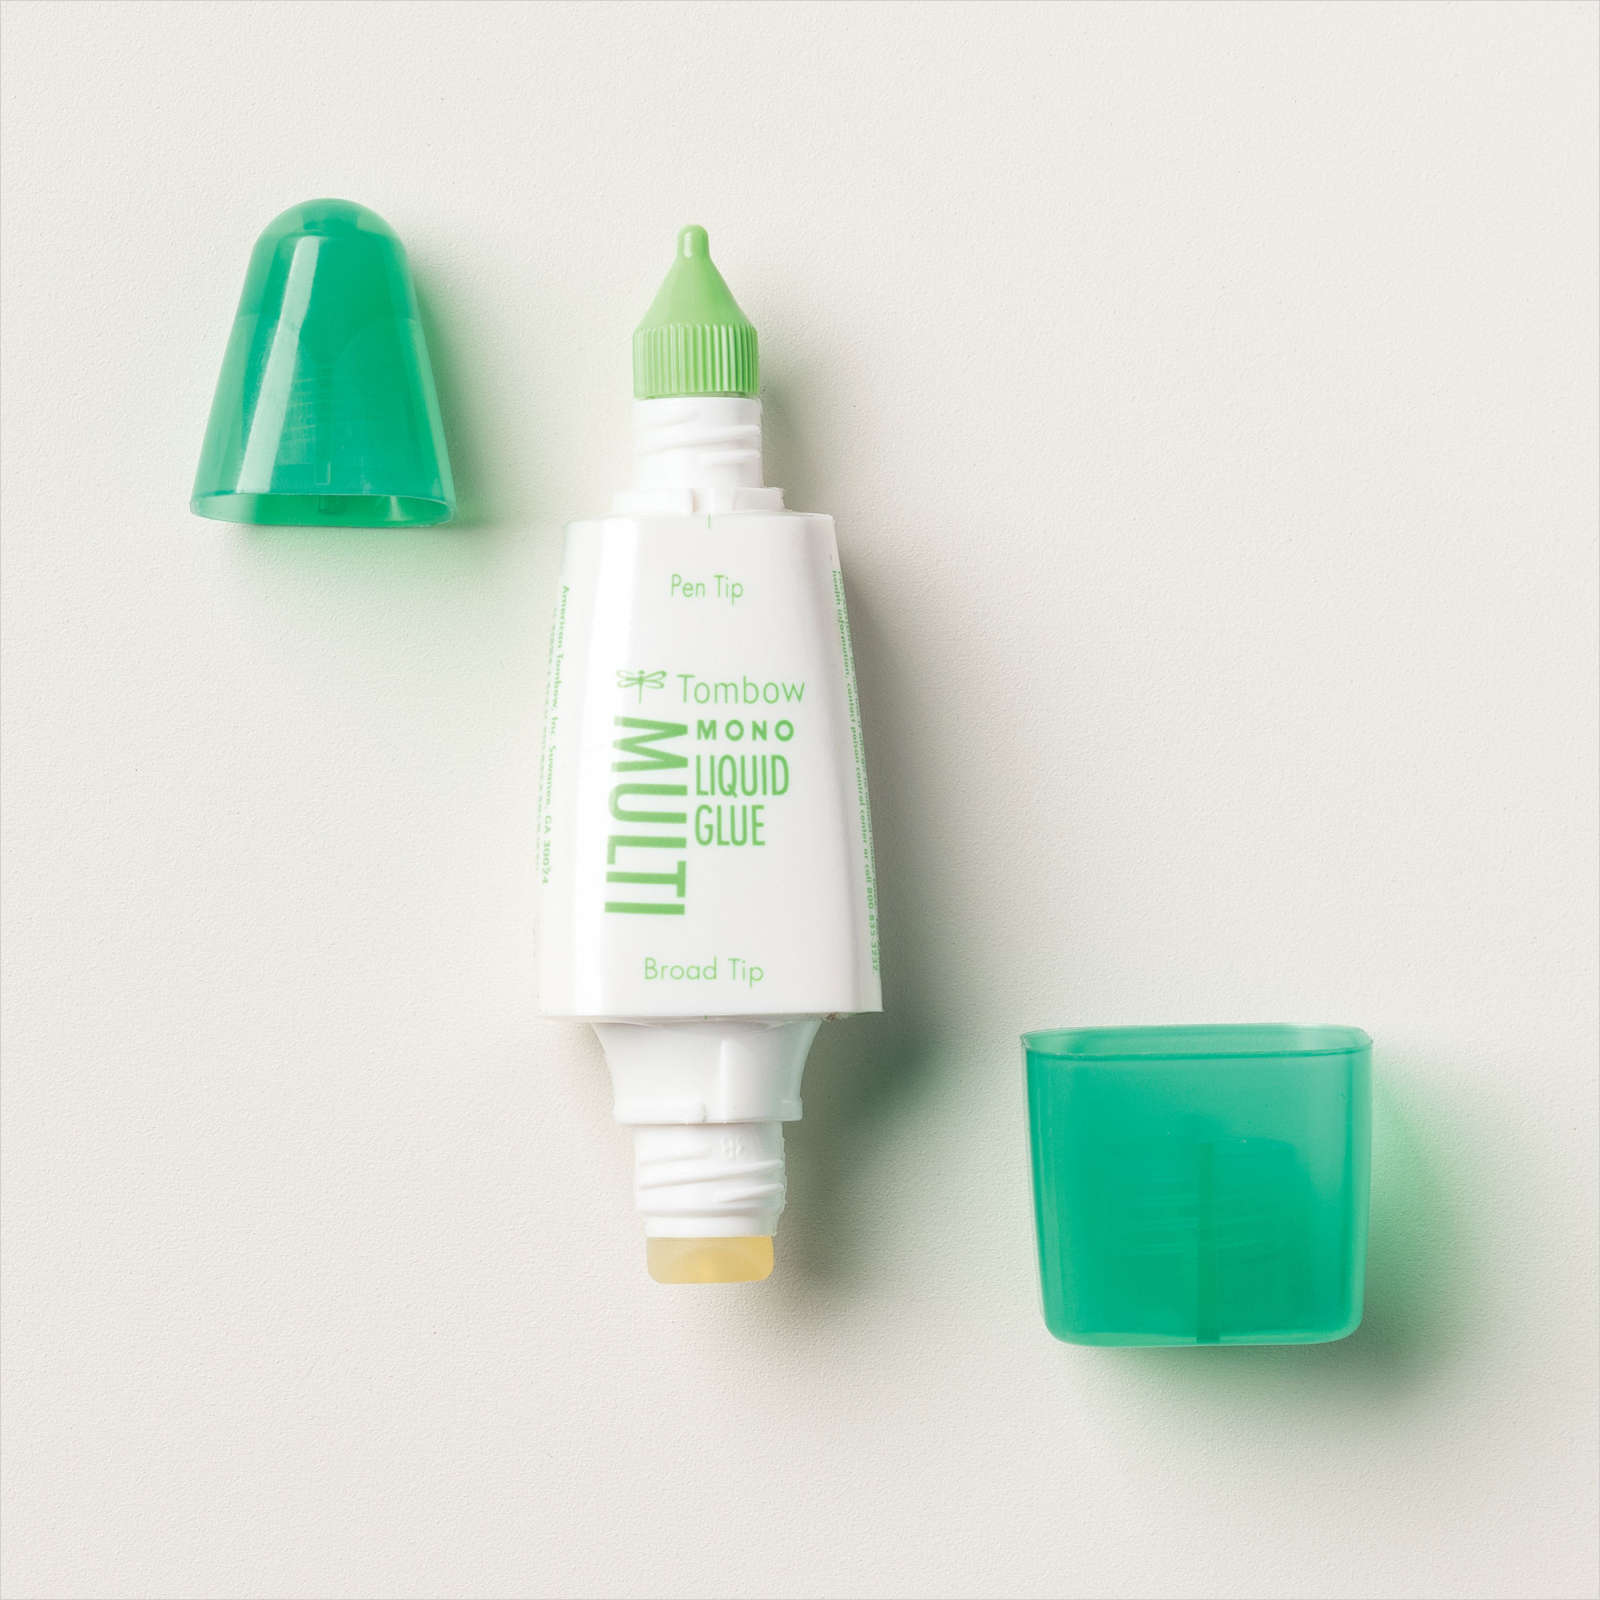
- Multipurpose Glue
- Stampin' Dimensionals
- Clear Blocks
- Petal Pink CS (5 1/2 x 8 1/2 scored in half at 4 1/4) for the card base.
- Petal Pink layer, sentiment (4 x 5 1/4)
- Whisper White to stamp and die-cut images.
- Prized Peony
- StazON Black (due to water coloring the images)
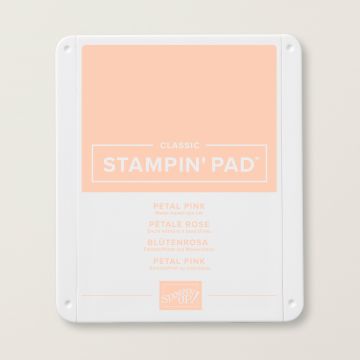
- Petal Pink
- Garden Green
- Die Set: Peony Dies
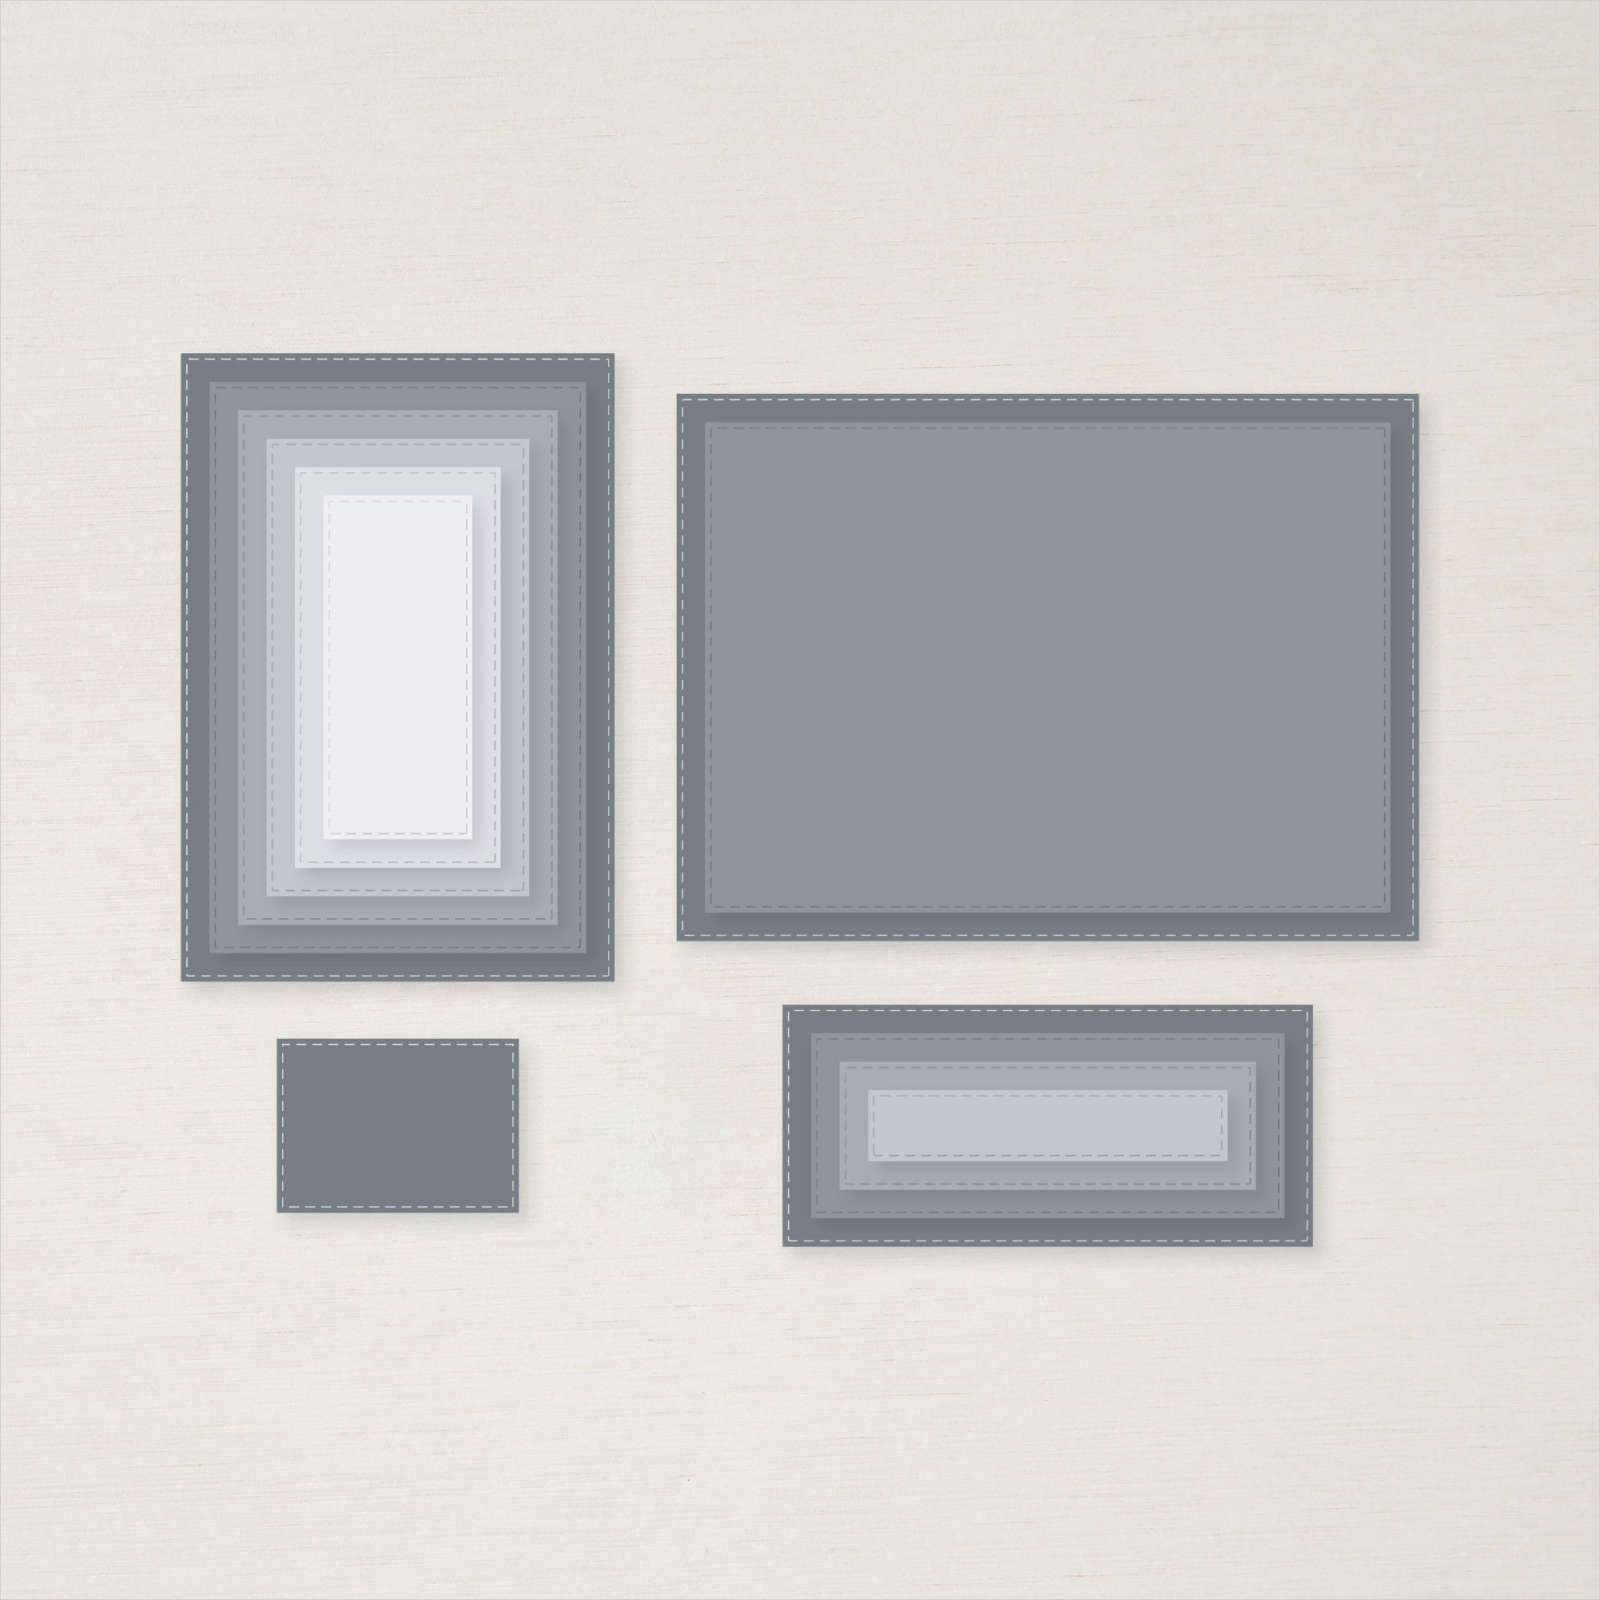
- Stitched Rectangles
- Scripty 3D Embossing Folder
- Bling
- Ribbon
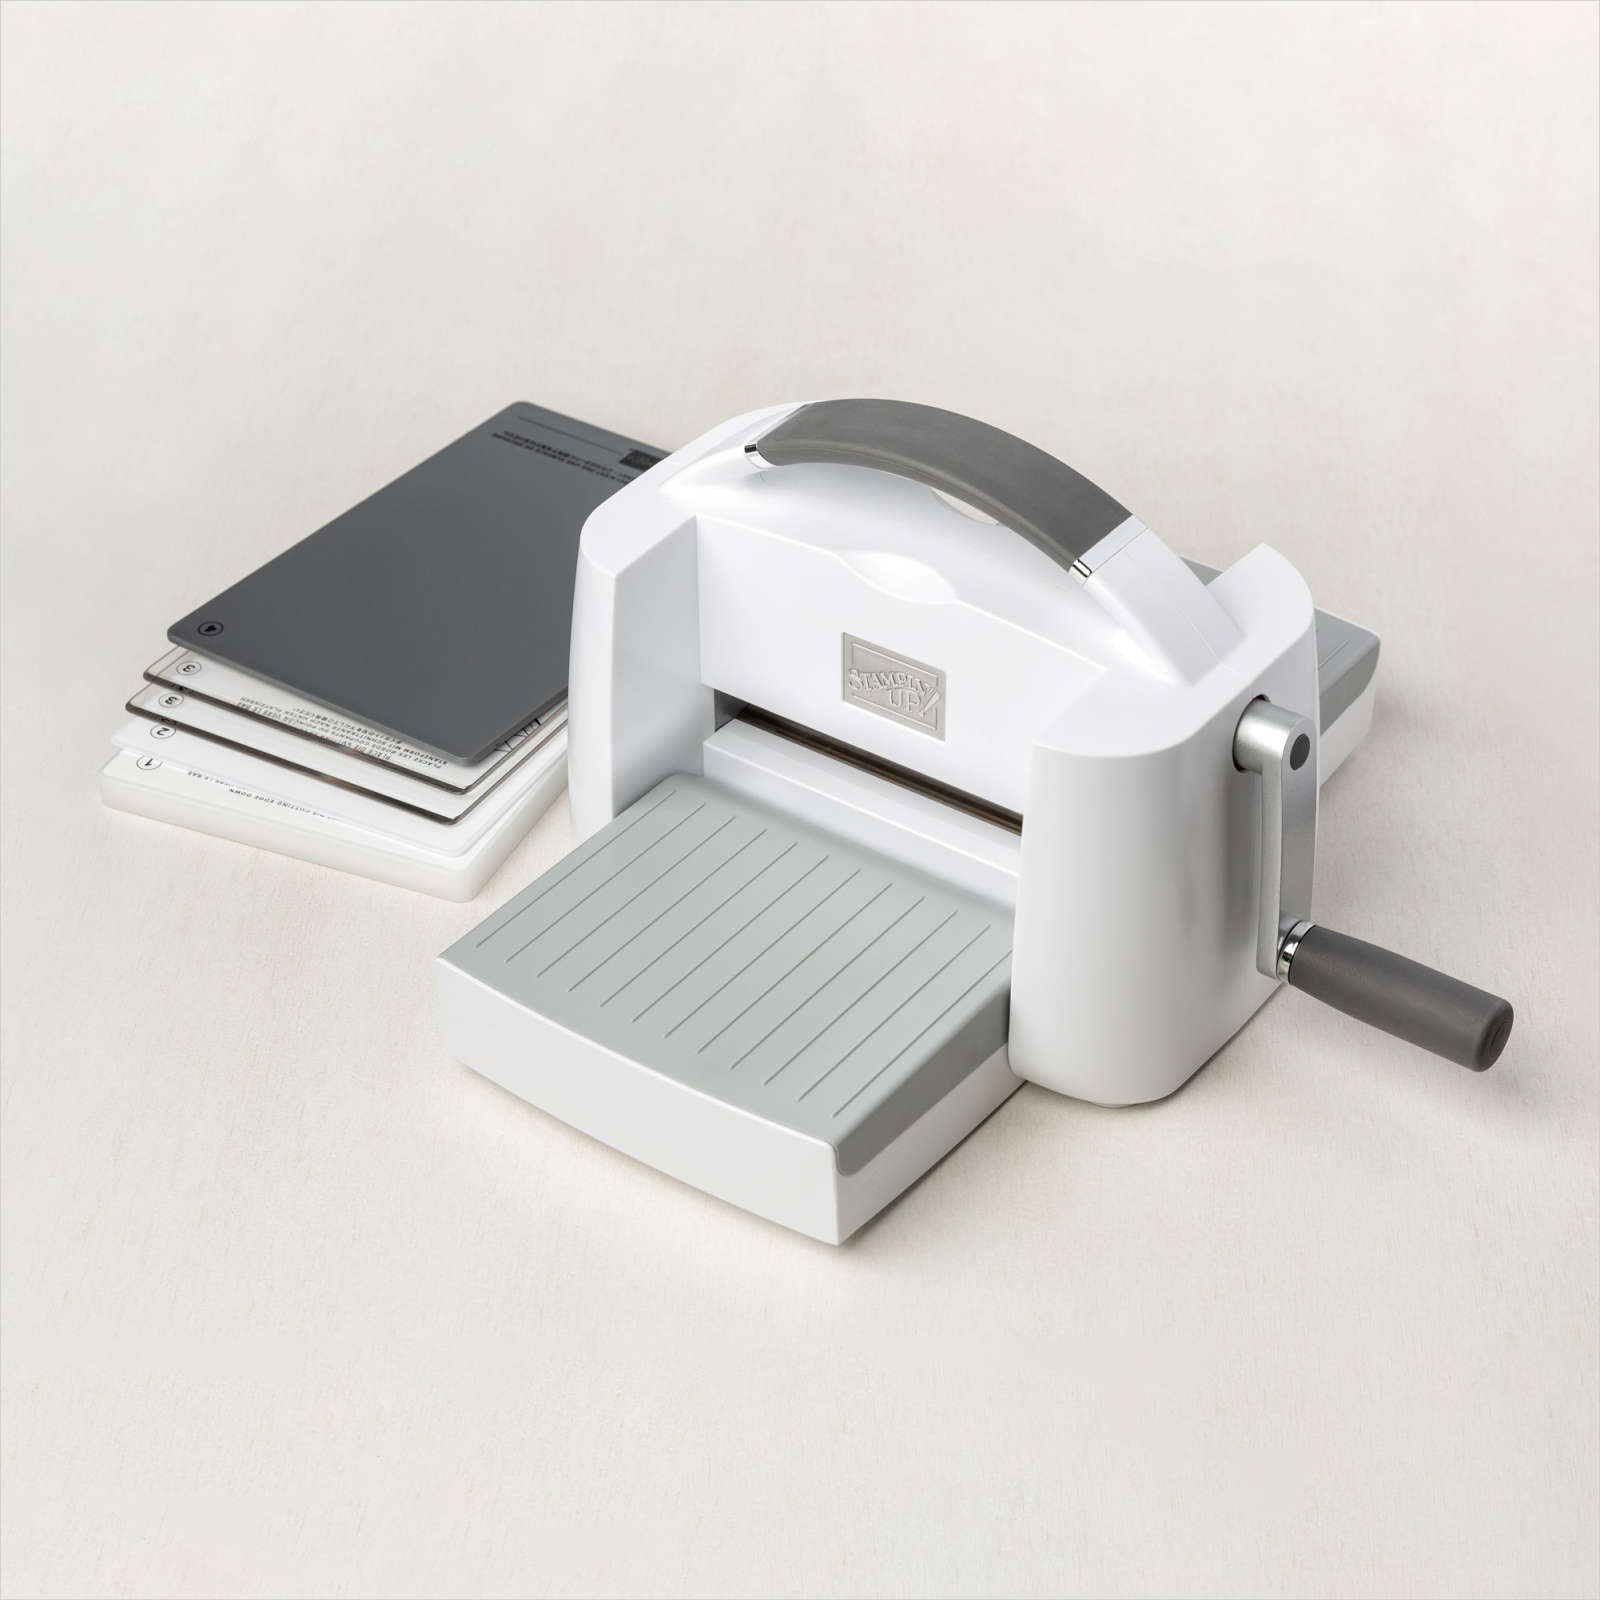
- Stampin' Cut & Emboss Machine
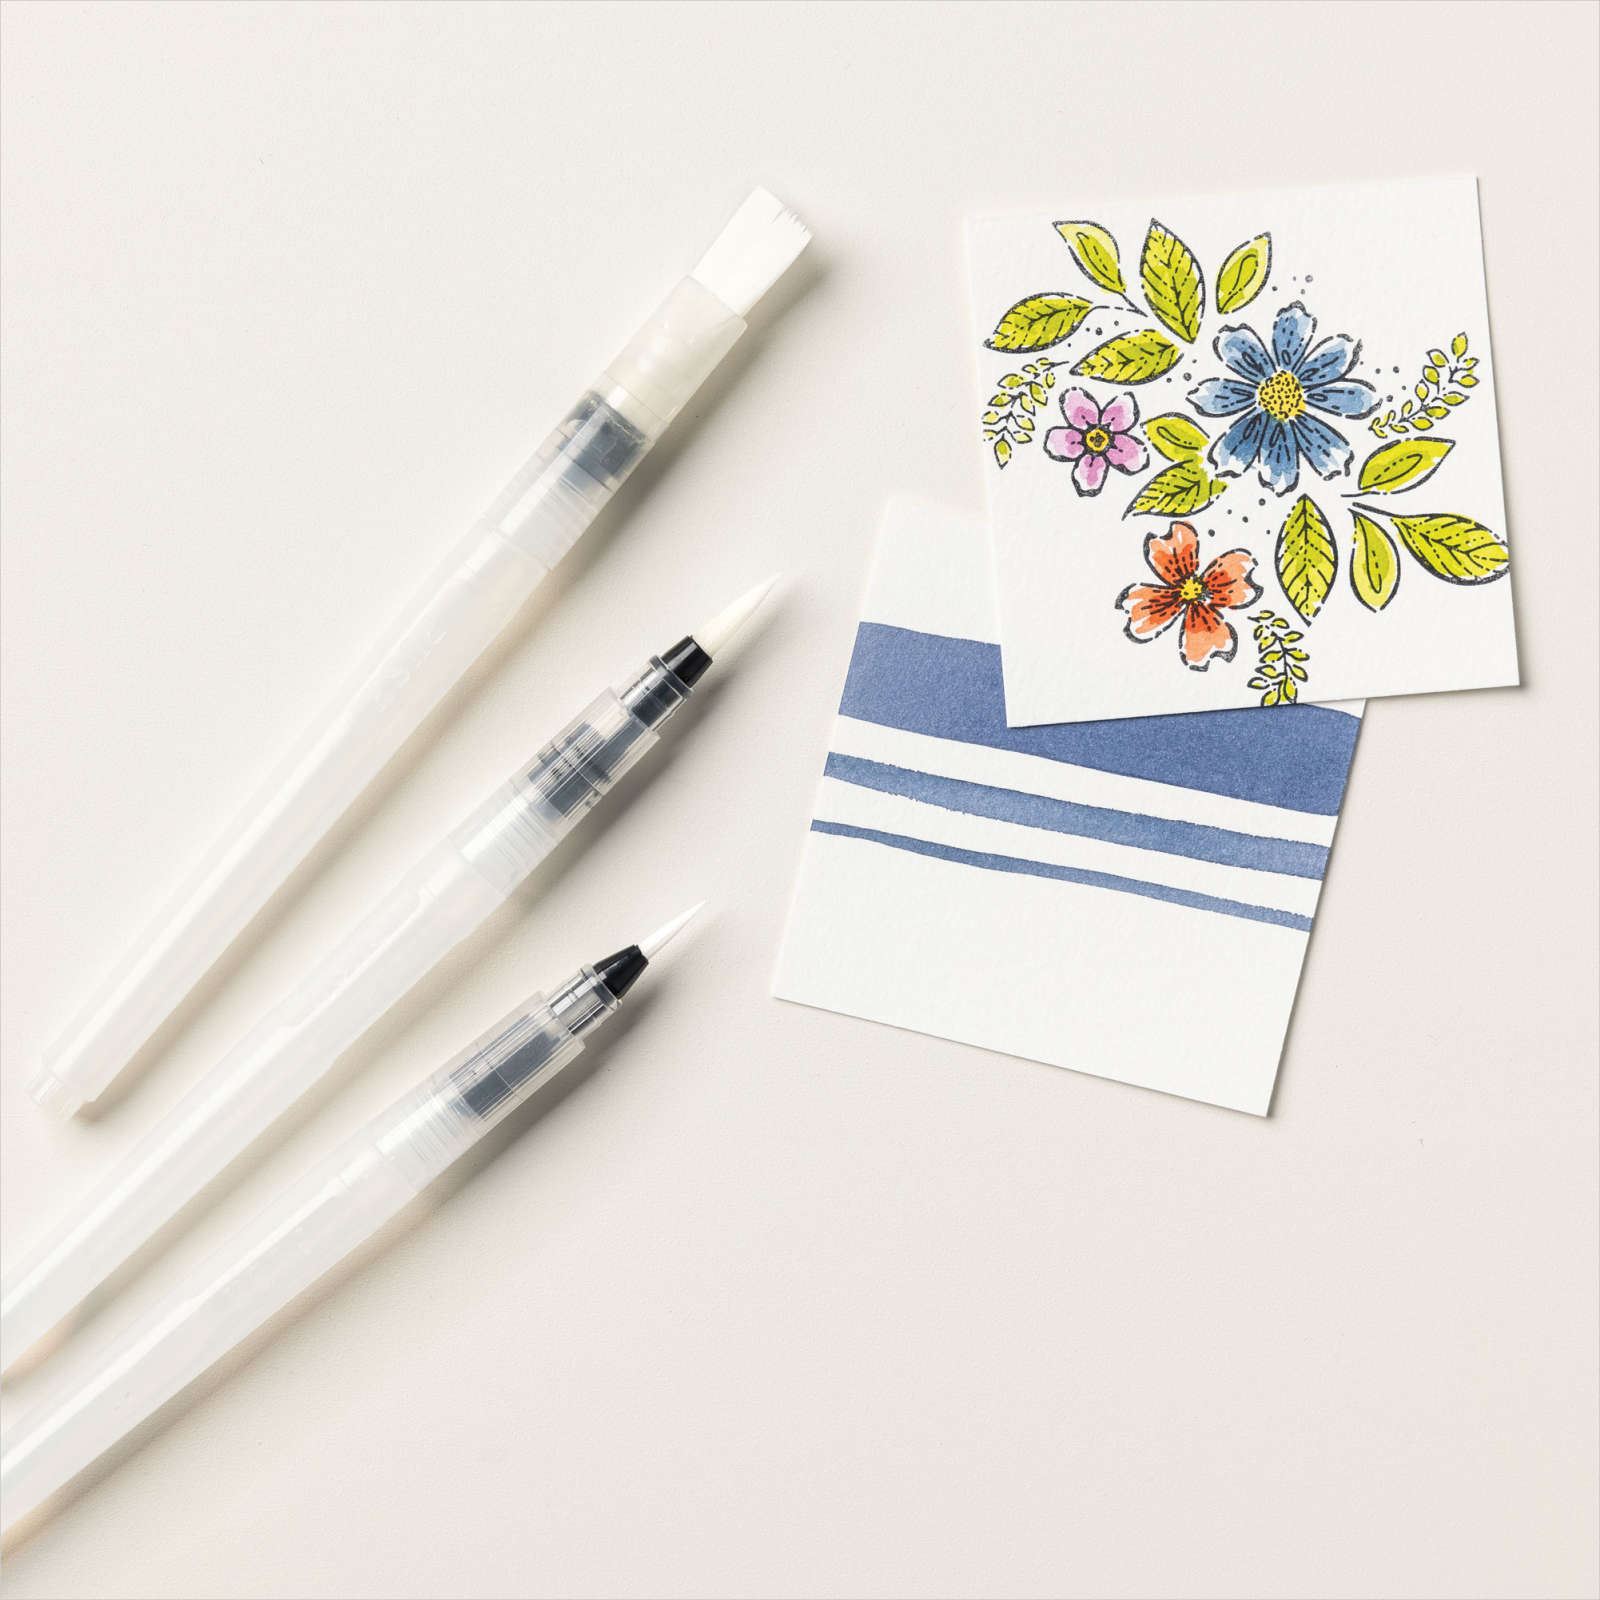
- Water Painters (coolest things ever)
2. Ran the Scripty 3D Embossing Folder through the Stampin' Cut & Emboss machine.
3. Stamped the peony images and the leaves with Stazon ink and let them dry for a minute.
4. Stamped the sentiment on a scrap of Petal Pink and die cut it using the smallest rectangle die.
5. Using a clear block, pad the block into the Petal Pink ink pad to pick up ink (or you can press the ink pad together to transfer ink to the lid).
6. Using the water painters, I watercolored the peony stamps, not being really careful at all. After it dried I went over the dark parts with a concentration of more ink than water for dimension.
7. Ditto number 6 except with the leaves and Garden Green.
8. Tied a small bow and adhered it to the corner of the sentiment.
Card Assembly:
- Adhere the cut flowers, leaves, and sentiment to the front of the embossed layer using dimensionals.
- Using dimensionals, adhere the layer to the front of the card.
- Add bling and a bow and you are done!
- On the inside of the card, I placed a Whisper White piece inside and cut an extra flower to adhere to the bottom right corner.
- Don't forget to stamp the envelope!
Lindy
Direct Links to Products Used:
1. I cut and scored the base layer with a paper trimmer.


No comments:
Post a Comment