Thursday, December 31, 2020

Painted Poppies Stamp Set and Dies

 Hi All!

I hope all is well! Happy New Year!!!

I created a card today using Painted Poppies. I love this stamp set. The inspiration for the card came from the catalog! The catalog is a great place to start to get your creative juices flowing. 

Here's My Creation: 


Here's What I Did:
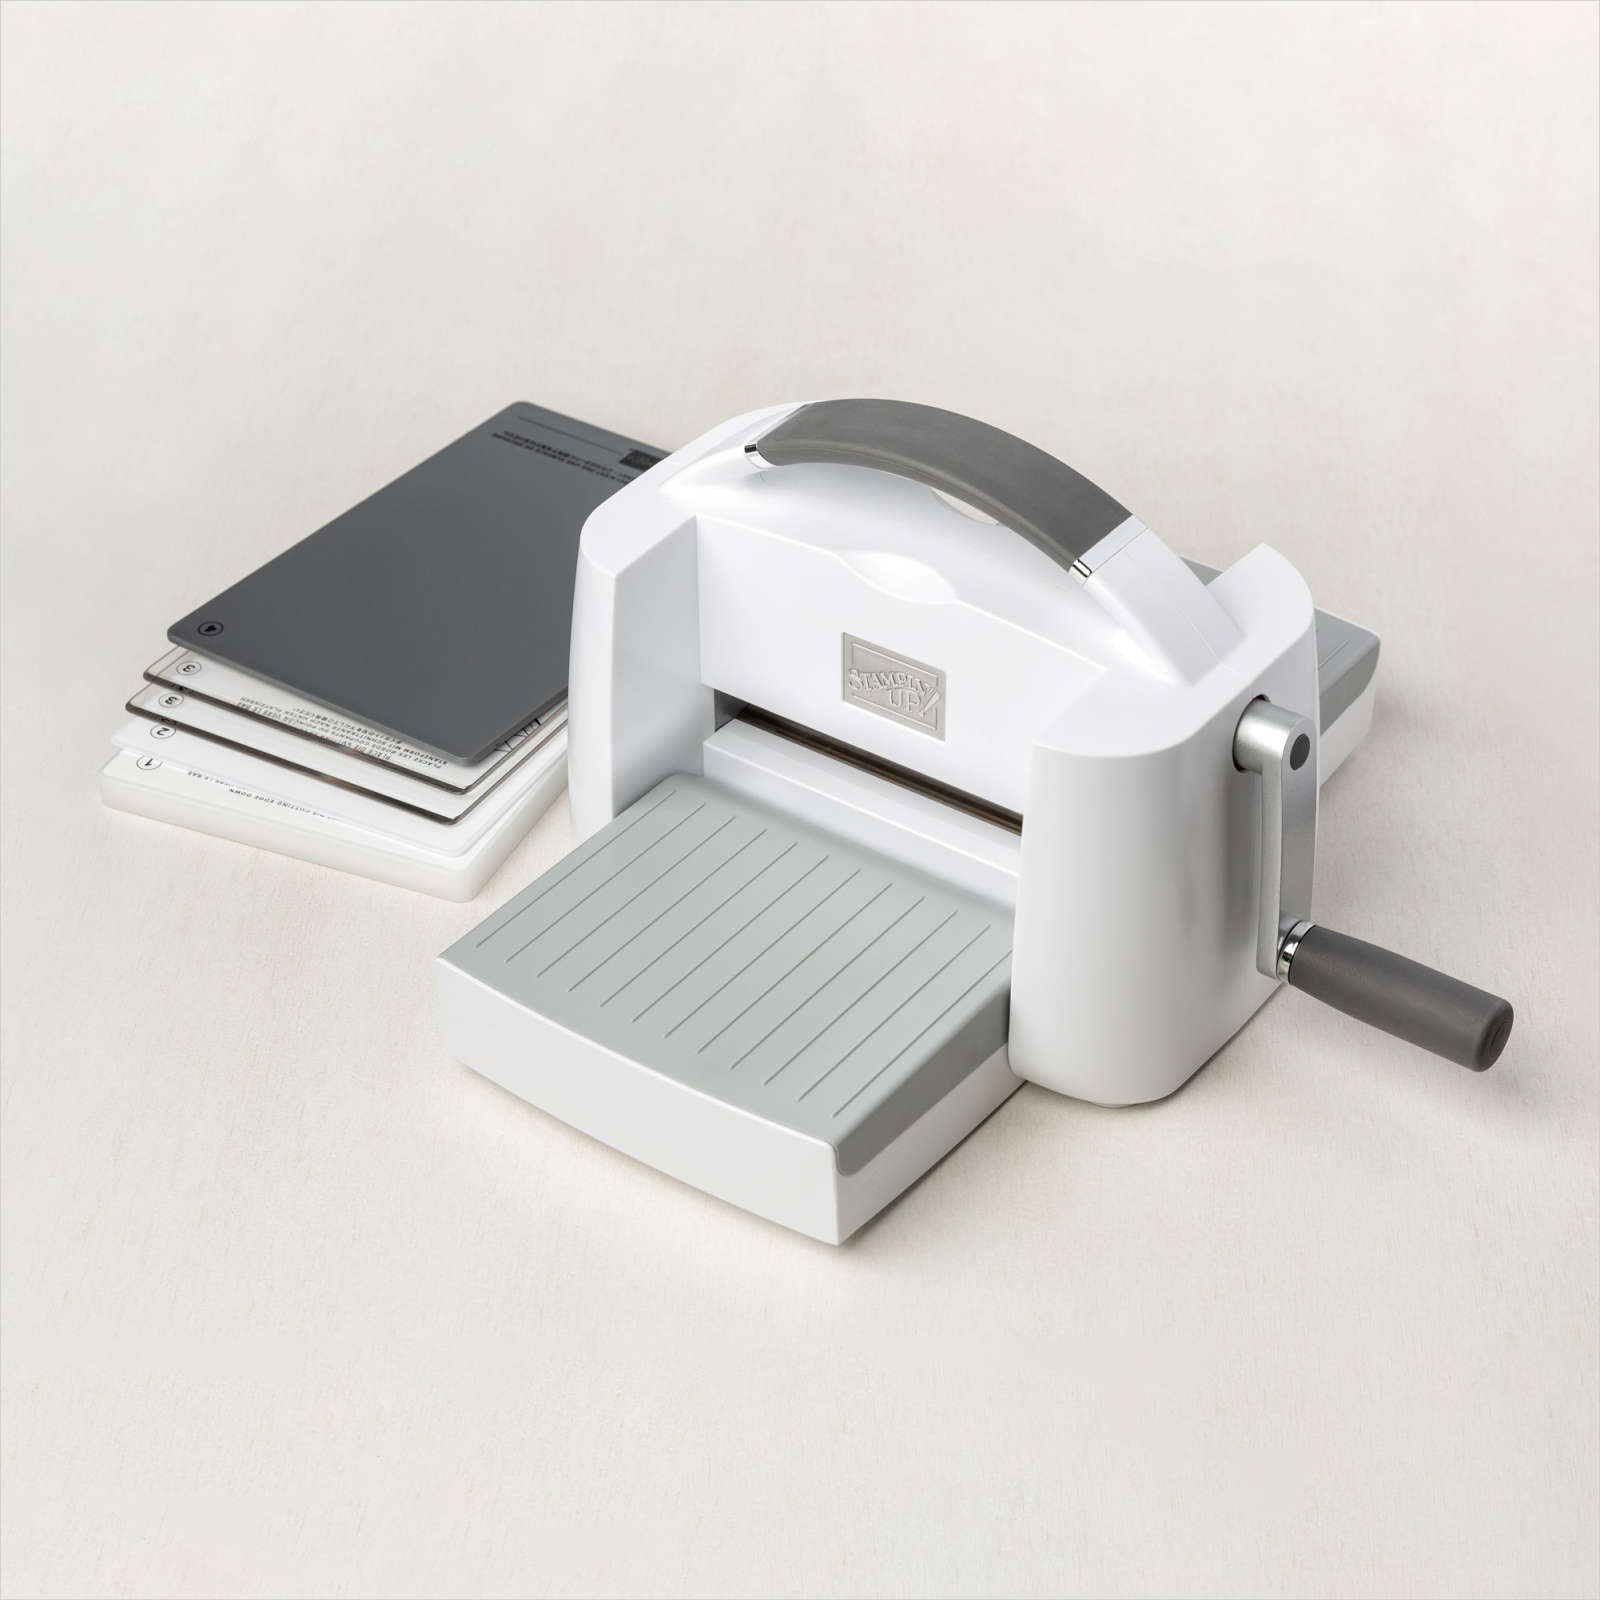
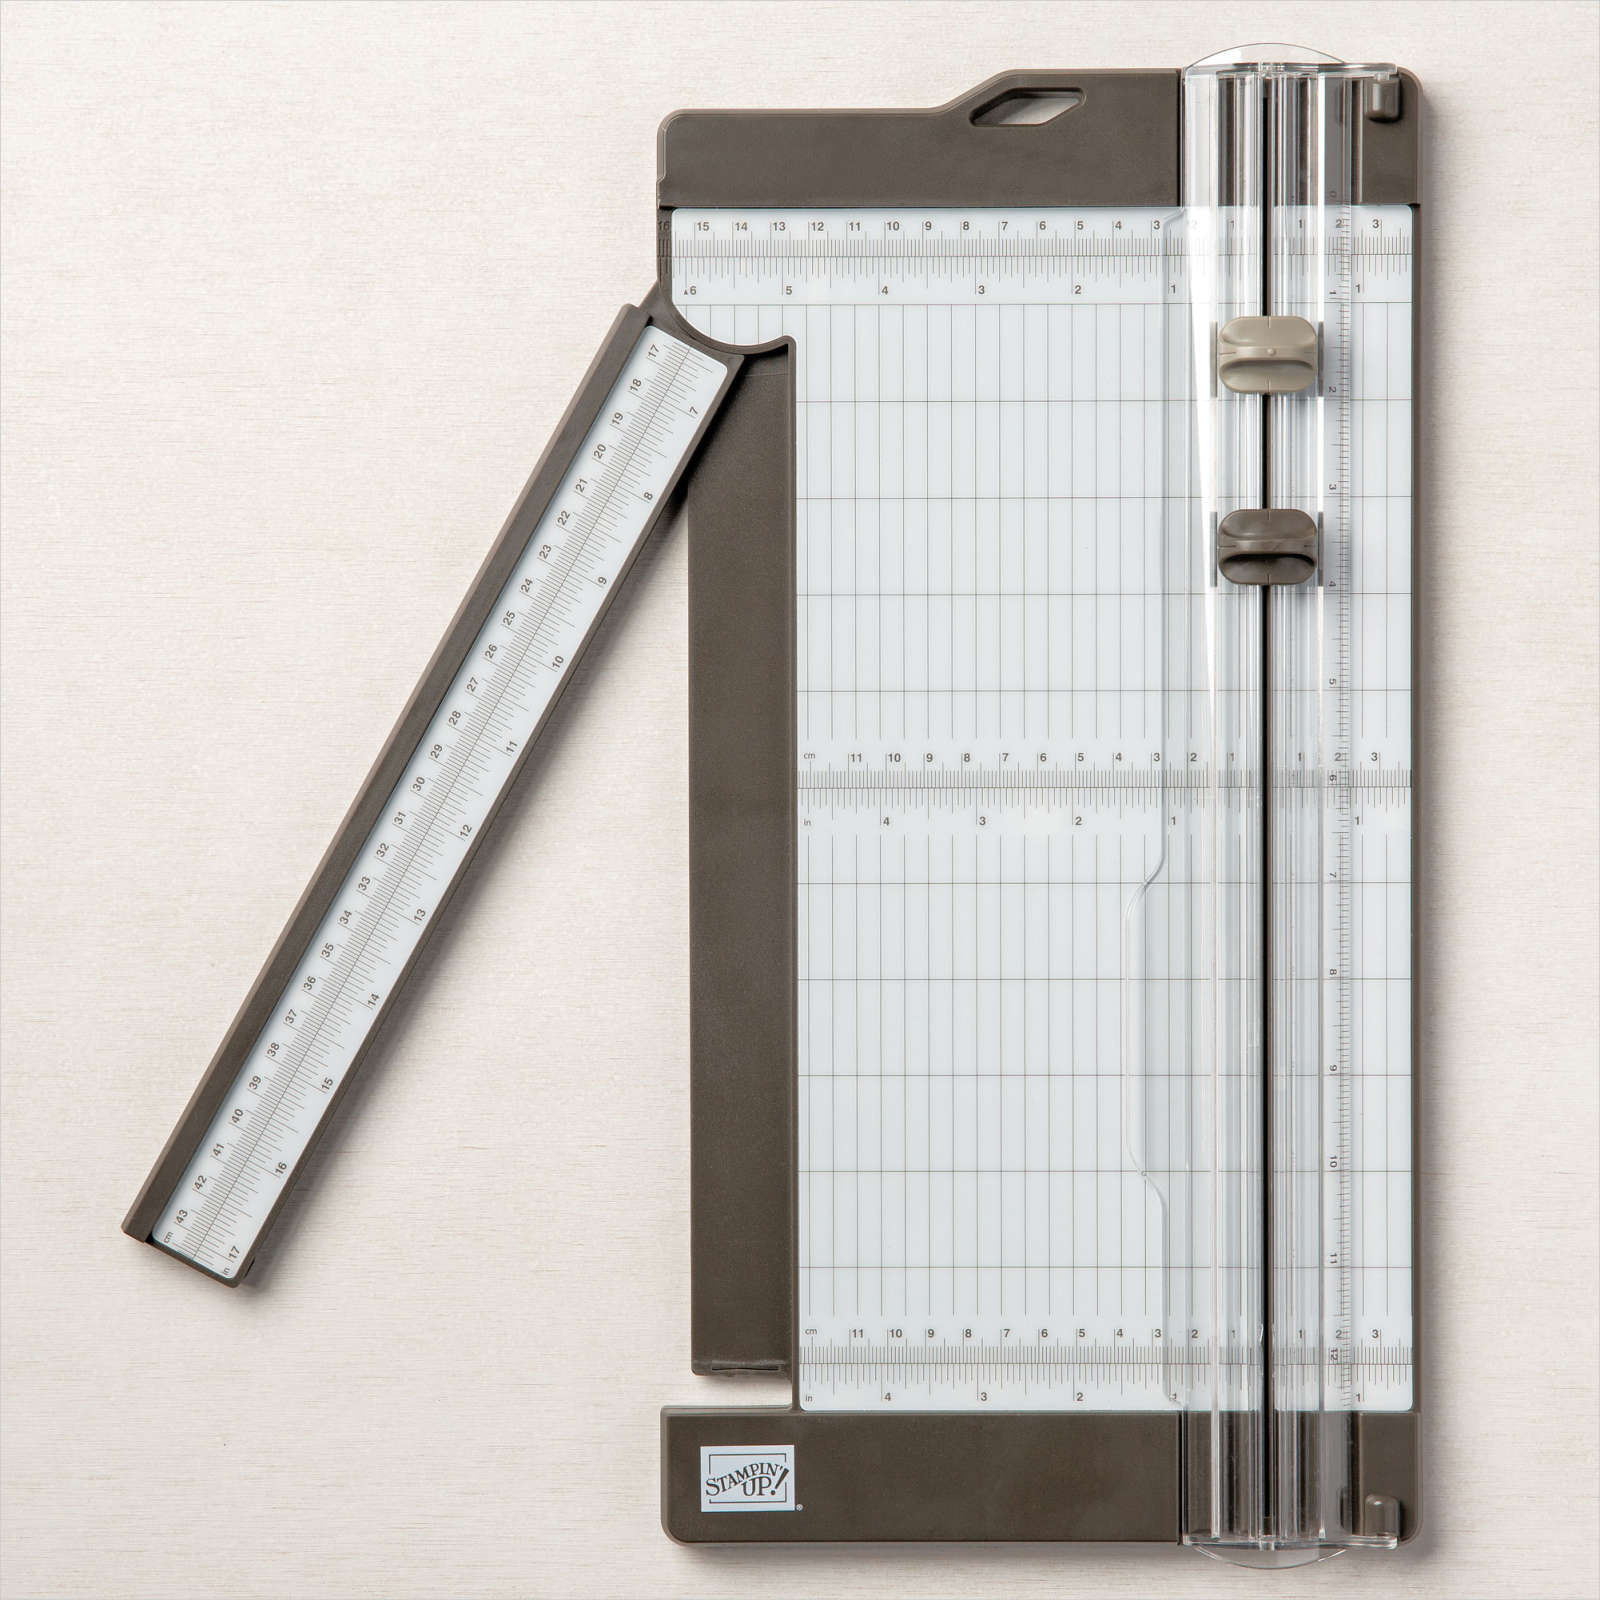
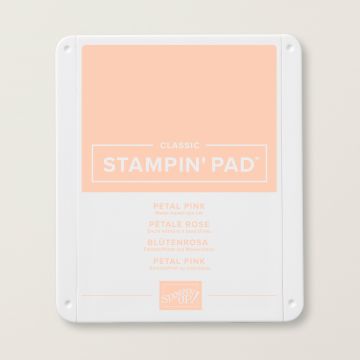
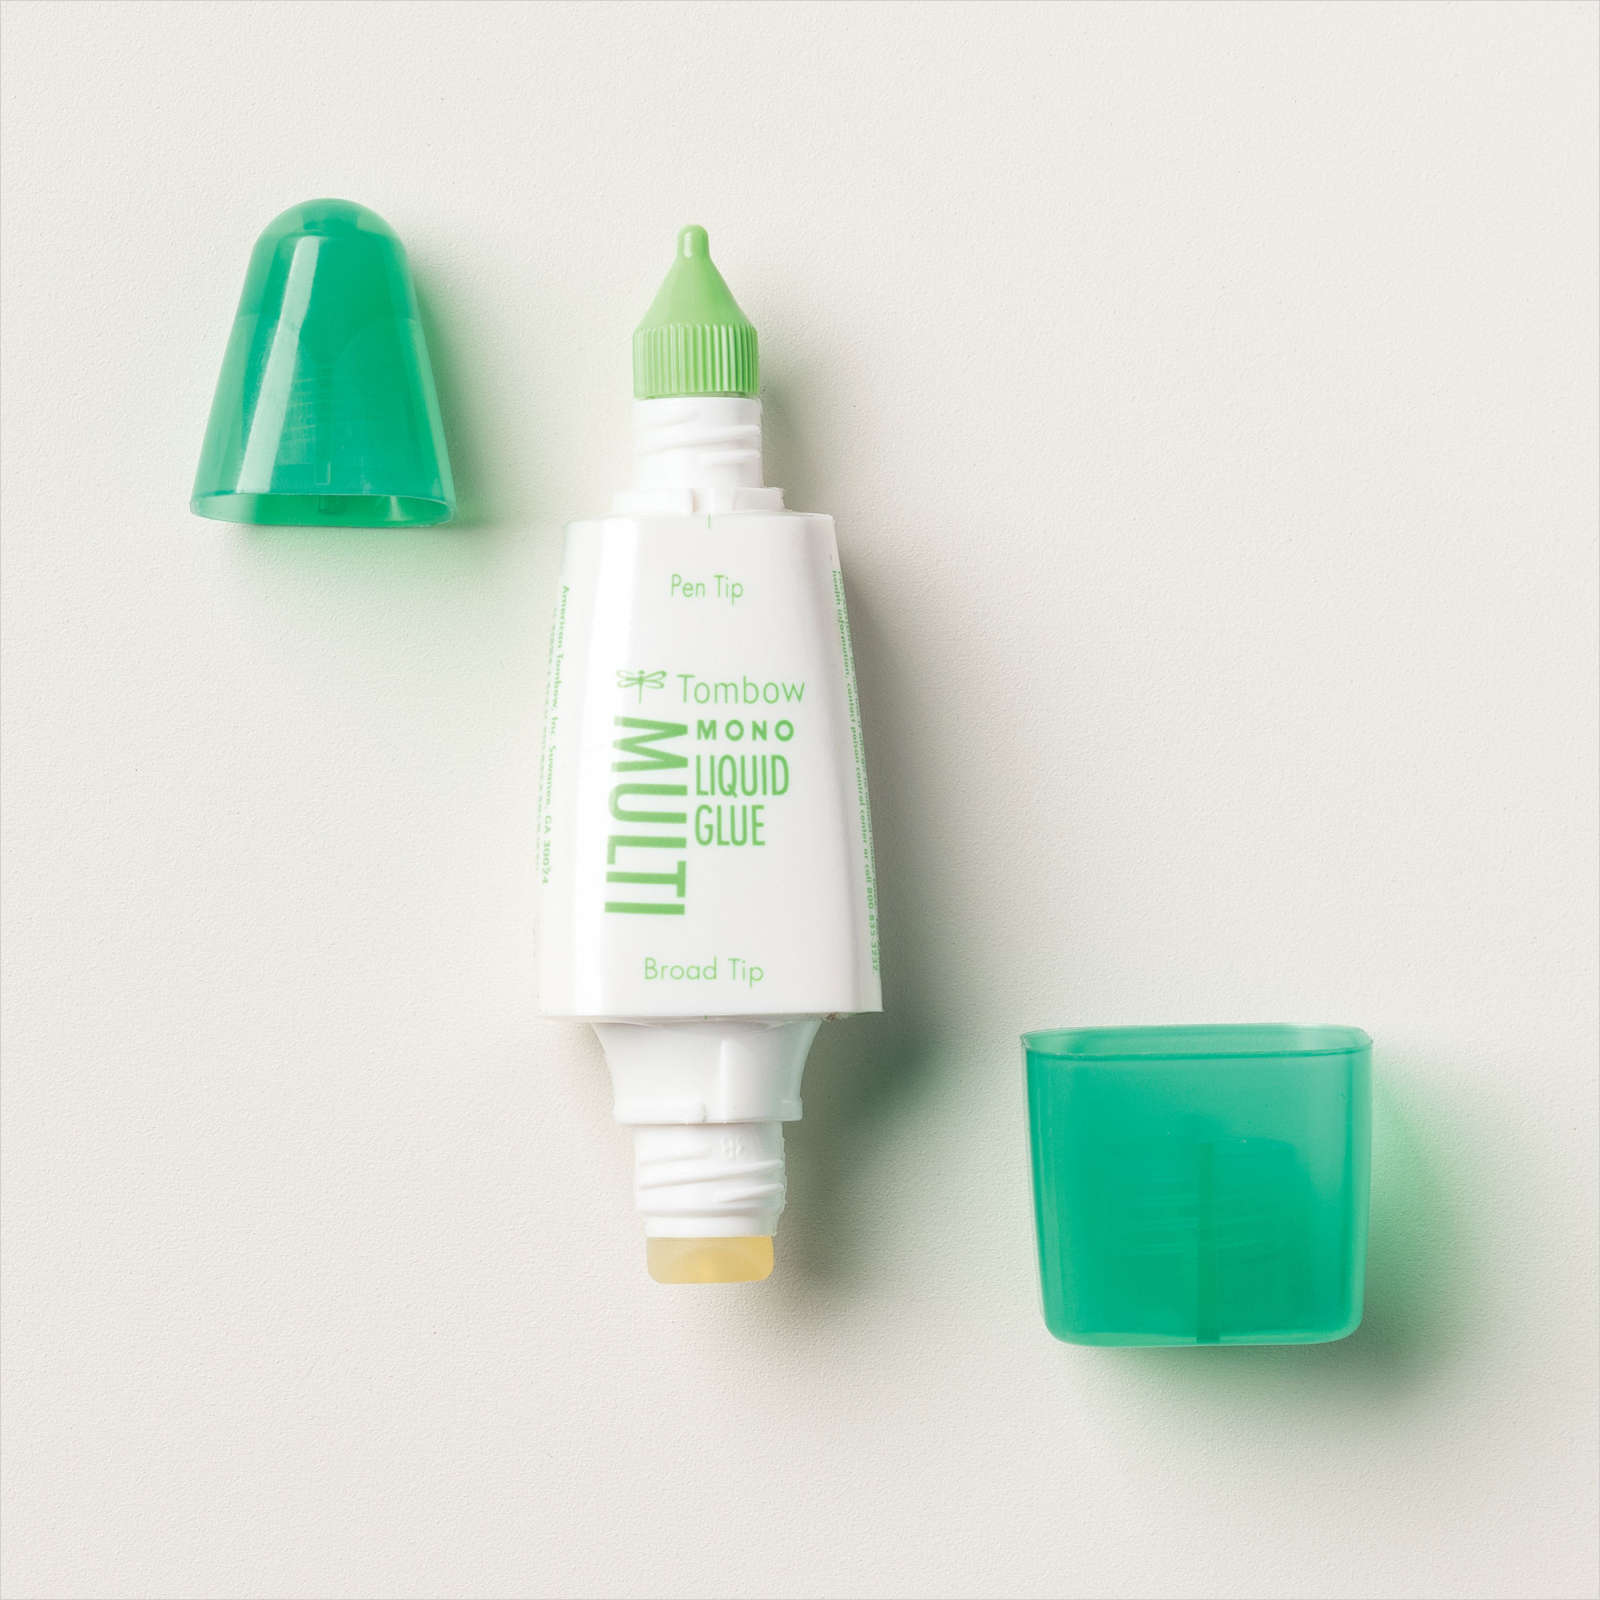
I first started with a card base of Whisper White card stock (8 1/2 x 11 scored at 5 1/2 inches). I then cut a mat from the Artisty Blooms DSP (4 x 5 1/4). Using my Stampin' Cut & Emboss machine I die cut the dies in Rich Razzleberry card stock. I used the lighter section of the Artistry Blooms DSP to stamp the sentiment "Thanks" in Rich Razzleberry. I matted the sentiment behind a black piece of cardstock. I adhered the dies cut in Rich Razzleberry to the base of the card with Tombo glue. The poppies were put together (the poppy flower outline adhered with Tombo to the poppy whole flower). They were added to the card base using dimensionals to pop it up. The sentiment was added with dimensionals as well. I then added some rhinestones to bling it up. The inside of the card was stamped with the poppy field stamp and I colored them with a blender tool dabbed in Rich Razzleberry ink. I did the same for the envelope too. 

Leave a comment below and let me know what you think! 

Happy New Year!!

Lindy


Here's What I Used: 

Sunday, December 27, 2020

Prized Peony

    Hello Again! I have created another card with the Prized Peony Stampin' Up!® stamp set. I love this set. It is so 

pretty and very versatile. 


    The Basics:

  • Paper Trimmer 
  • Multipurpose Glue 
  • Stampin' Dimensionals 
  • Clear Blocks 
    Paper
  • Petal Pink CS (5 1/2 x 8 1/2 scored in half at 4 1/4) for the card base. 
  • Petal Pink layer, sentiment (4 x 5 1/4)
  • Whisper White to stamp and die-cut images.
    Stamp Set:
  • Prized Peony 
    Inks: 
  • StazON Black (due to water coloring the images)
  • Petal Pink
  • Garden Green
    Everything Else: 
  • Die Set: Peony Dies 
  • Stitched Rectangles 
  • Scripty 3D Embossing Folder
  • Bling 
  • Ribbon 
  • Stampin' Cut & Emboss Machine 
  • Water Painters (coolest things ever)
    This Is What I Did:
    2. Ran the Scripty 3D Embossing Folder through the Stampin' Cut & Emboss machine. 
    3. Stamped the peony images and the leaves with Stazon ink and let them dry for a minute. 
    4. Stamped the sentiment on a scrap of Petal Pink and die cut it using the smallest rectangle die. 
    5. Using a clear block, pad the block into the Petal Pink ink pad to pick up ink (or you can press the ink pad together to transfer ink to the lid).
    6. Using the water painters, I watercolored the peony stamps, not being really careful at all. After it dried I went over the dark parts with a concentration of more ink than water for dimension.
    7. Ditto number 6 except with the leaves and Garden Green.
    8. Tied a small bow and adhered it to the corner of the sentiment.
    Card Assembly:
  • Adhere the cut flowers, leaves, and sentiment to the front of the embossed layer using dimensionals. 
  • Using dimensionals, adhere the layer to the front of the card. 
  • Add bling and a bow and you are done! 
  • On the inside of the card, I placed a Whisper White piece inside and cut an extra flower to adhere to the bottom right corner. 
  • Don't forget to stamp the envelope!
    Thanks so much for stopping by! For more inspiration using the Prized Peony stamp set subscribe to my newsletter! Here is another card created with the Prized Peony stamp set from Stampin' Up!®
    Lindy 
    Direct Links to Products Used:

    1. I cut and scored the base layer with a paper trimmer.


         STAMPIN’ CUT & EMBOSS MACHINE  PRIZED PEONY BUNDLE (ENGLISH)  


     PAPER TRIMMER   STAMPIN’ DIMENSIONALS


PETAL PINK CLASSIC STAMPIN' PAD           MULTIPURPOSE LIQUID GLUE         
PETAL PINK 8-1/2" X 11" CARDSTOCKWATER PAINTERS
STITCHED RECTANGLES DIES     CLEAR BLOCK BUNDLE
 
SCRIPTY 3D EMBOSSING FOLDER  WHISPER WHITE 5/8" (1.6 CM) POLKA DOT TULLE RIBBON

Prized Peony Stamp Set

Hello all,

Welcome to my blog! My first blog post is on the beautiful Stampin' Up!® stamp set, Prized Peony. I hope you enjoy!

This card is from the Stampin' Up! annual catalog (June 2020-May 2021), page 84. The catalog is a wonderful tool for inspiration. I have made a few others using this stamp set as well. Subscribe to my newsletter for the other examples for this set.

This is What I Created: 


Click the images to visit my store.


This Is What I Used:

The Basics:
  • Paper Trimmer (pg. 151)
  • Multipurpose Glue (pg. 162)
  • Stampin' Dimensionals (pg. 162)
  • Clear Blocks (pg. 163)
Paper
  • Whisper White card stock (5 1/2 x 8 1/2 scored in half at 4 1/4) for the card base. 
  • Whisper White for the first layer, layering frame (3 7/8 x 5 1/8)
  • Whisper White to stamp and die-cut images.
Stamp Set:
  • Stamp Set: Prized Peony (pg. 84)
Inks: (pg. 142-143)
  • StazON Black (due to water coloring the images)
  • Poppy Parade
  • Garden Green
  • Seaside Spray
Everything Else: 
  • Die Set: Peony Dies (pg. 178)
  • Stitched Rectangles (pg. 183)
  • Bling (pg. 156-158)
  • Stampin' Cut & Emboss Machine (pg. 170)
  • Stamping Sponges (pg. 147)
  • Water Painters (coolest things ever--pg. 146-147)
This Is What I Did: 

1. Cut and scored base layer with paper trimmer.
2. Used the rectangle dies to create a frame (You will need to use two).
3. Sponged Seaside Spray on the inside layer after the frame was created. 
4. Stamped the diamond-looking stamp using Seaside Spray all over the card. 
5. Stamped the peony images and the leaves with Stazon ink and let it dry a minute. 
6. Stamped the sentiment in the upper right section of the sponged piece of Whisper White. 
7. Using a clear block (or you can press the ink pad together to transfer ink to the lid) I padded it in Poppy Parade.
8. Using the water painters I watercolored the peony stamps, not being really careful at all. After it dried I went over the dark parts with a concentration of more ink than water for dimension.
9. Ditto number 8 except with the leaves and Garden Green.

Card Assembly:
  • Adhere the sponged base to the center of the card base.
  • Using dimensional, adhere the frame being careful to center that as well.
  • Adhere to the flowers and leaves. 
  • Add bling and you are done! With the outside of the card that is, stamp the image to the outside corner on the inside. Watercolor lightly as not to bleed through. 
  • Don't forget to stamp the envelope!
Thanks so much for stopping by! For more inspiration using the Prized Peony stamp set subscribe to my newsletter!

Lindy 

Direct Links to Products Used:
STAMPIN’ CUT & EMBOSS MACHINE     PRIZED PEONY BUNDLE (ENGLISH)  POPPY PARADE CLASSIC STAMPIN' PAD

GARDEN GREEN CLASSIC STAMPIN' PAD  MULTIPURPOSE LIQUID GLUE  PAPER TRIMMER

STAMPIN’ DIMENSIONALS  CLEAR BLOCK F  SEASIDE SPRAY CLASSIC STAMPIN’ PAD

STITCHED RECTANGLES DIES  WATER PAINTERS  STAMPING SPONGES

Celebrating Sunflowers

   Hello, Stampers!  Today's card features Stampin' Up!'s Celebrate Sunflowers. With all that is going on in Ukraine, I thought ...